
15 DIY Halloween Door Mat Ideas for a Fun Painting Party

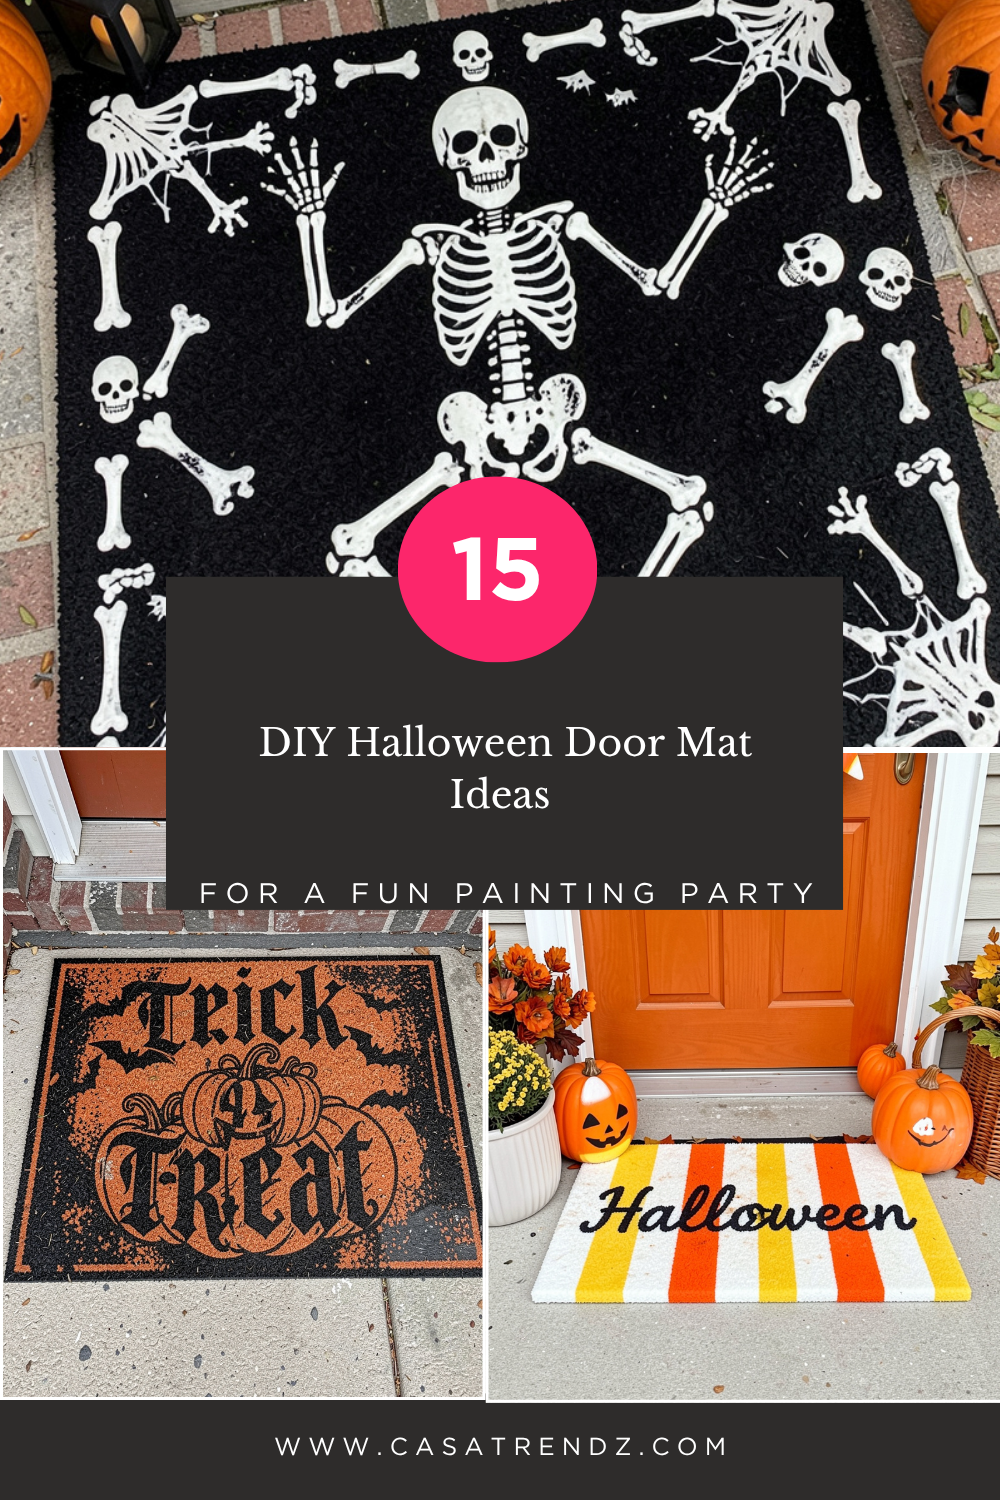
The front door is the first thing trick-or-treaters and party guests see, and a hand-painted Halloween door mat sets the mood before anyone even knocks. A plain coir mat costs very little, takes under an hour to paint, and can be customized to match any porch style, from cute and family-friendly to properly spooky. That is exactly why door mat painting has become such a popular Halloween painting party activity: everyone works on the same simple project, but no two mats ever come out the same.
In this guide you will find 15 DIY Halloween door mat ideas, each with the supplies it needs, simple step-by-step directions, and a practical tip to help the design survive foot traffic and October weather. Most of these designs use the same basic kit, so once you have painted one mat, the rest become even easier.
What you need for almost every design: a plain coir door mat (the standard 18 x 30 inch size works best), outdoor acrylic paint or exterior enamel paint in black, white, orange, and one or two accent colors, a stiff flat brush for filling large areas, a small round brush for details, painter’s tape for clean edges, paper stencils or a chalk pencil for sketching, and a clear outdoor sealant spray to protect the finished design. Let each coat dry for at least 20 to 30 minutes, and give the finished mat a full 24 hours before placing it outside.
1. Classic “Trick or Treat” Typography Mat
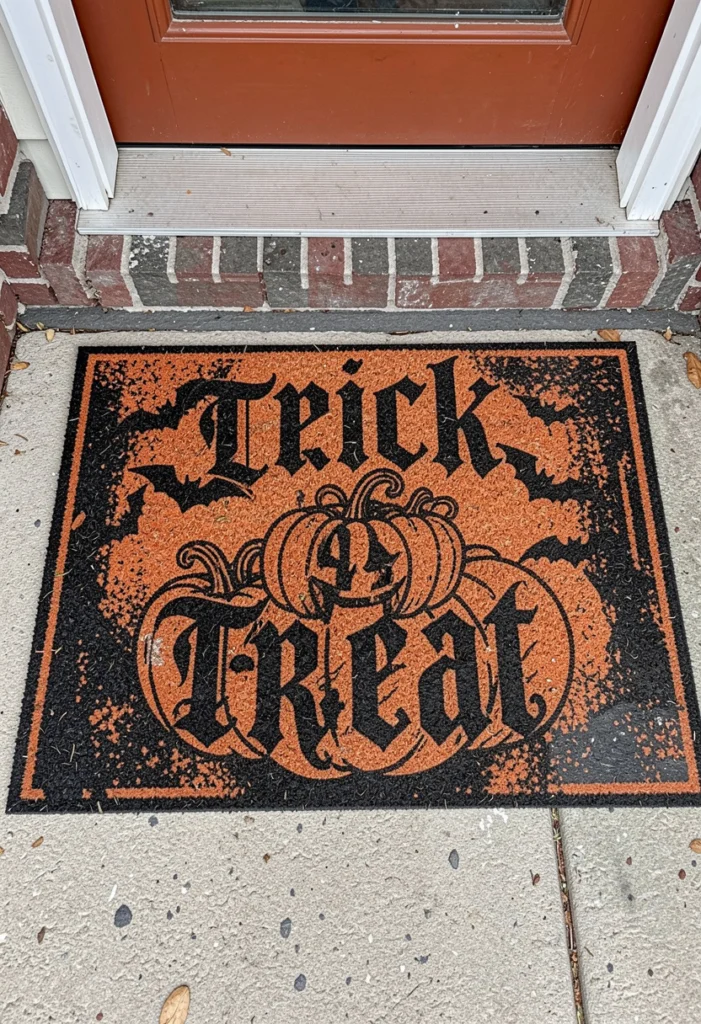
The classic “Trick or Treat” mat is the easiest place to start, and it never goes out of style. Because the design is built around lettering instead of drawings, it is perfect for beginners and ideal for a painting party where guests have different skill levels. Stick with traditional black, orange, and white for a timeless look, or add metallic gold lettering if your porch decor leans more modern.
How to do it: Sketch the words lightly in chalk across the center of the mat, keeping the letters large and bold so they read clearly from the sidewalk. If your freehand lettering is shaky, use letter stencils and secure them with painter’s tape so they do not shift on the rough coir surface. Dab the paint straight down with a stiff brush instead of dragging it, which keeps the edges of each letter crisp. Two thin coats look far better than one thick coat.
Party tip: Give each guest the same phrase but let them choose their own font style and color palette. A row of finished mats photographed together makes a great group picture at the end of the night.
2. Cute Ghost Family Doormat
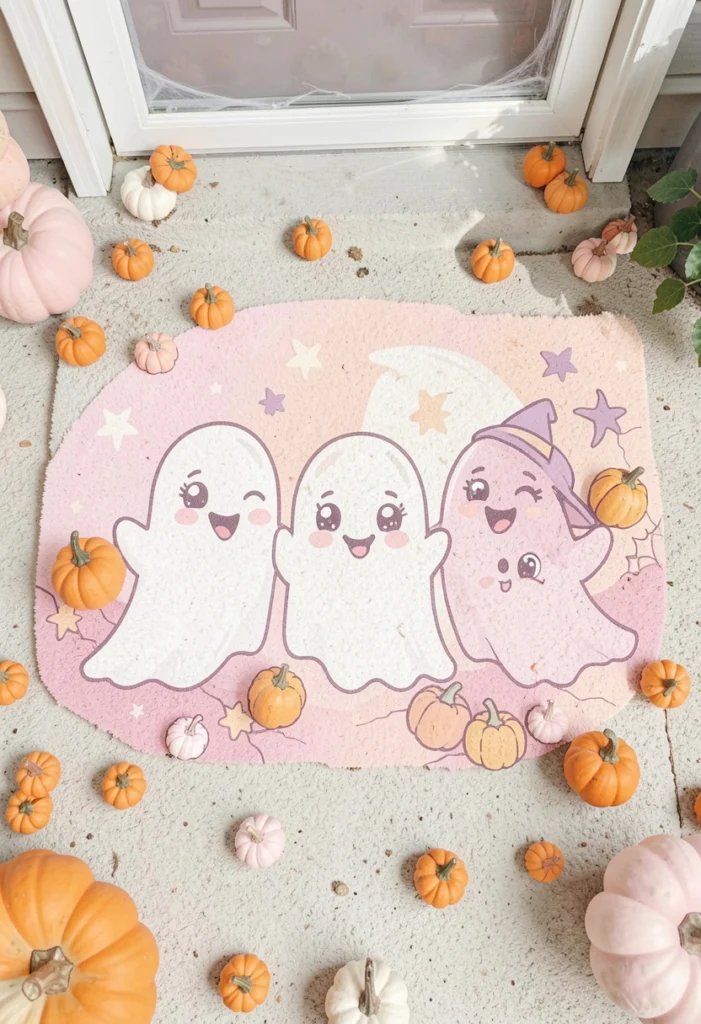
A ghost family doormat is friendly, funny, and a favorite in homes with young kids. Instead of one large ghost, paint a line of small ghosts across the mat, one for each member of the family, each with a different expression: happy, surprised, sleepy, or silly. It is one of the most personal designs in this list because guests at a painting party can each paint and personalize their own ghost.
How to do it: Draw simple rounded ghost shapes in chalk first, spacing them evenly. Fill each ghost with white outdoor paint using dabbing strokes, then let the white dry completely before adding faces with a small brush and black paint. Finish with tiny details that give each ghost a personality, such as a bow, a tiny pumpkin, a witch hat, or rosy pink cheeks.
Good to know: White paint on natural tan coir needs two coats for a bright, clean finish. If the ghosts look dull after the first coat, that is normal, and the second coat fixes it.
3. Spooky Spider Web Entrance Mat
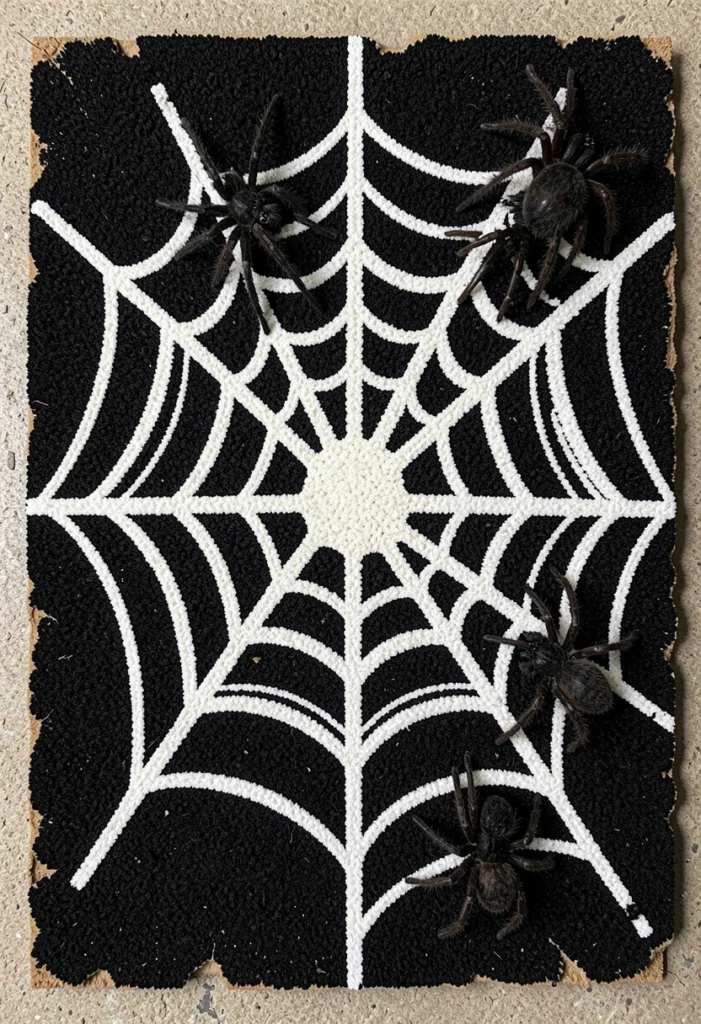
A spider web mat delivers instant Halloween atmosphere with very little drawing skill. The web does all the work: bold white or silver lines stretching from one corner of the mat look striking against a dark background, and a single large spider in the center gives the whole design a focal point. It also suits a painting party well because several people can paint different sections of the same web.
How to do it: Paint the whole mat black first and let it dry. Sketch the web with chalk, starting with straight lines radiating out from one corner, then connect them with curved lines that sag slightly in the middle, which makes the web look realistic. Paint over the chalk lines with white or silver paint. Add one large spider hanging from a thread, or scatter a few small spiders across the web for extra creepiness.
If you are decorating the whole porch and not just the doorway, pair this mat with the fall porch setups in our guide to fall outdoor decorations for a layered entrance that still works after Halloween night.
4. Witch’s Welcome Doormat
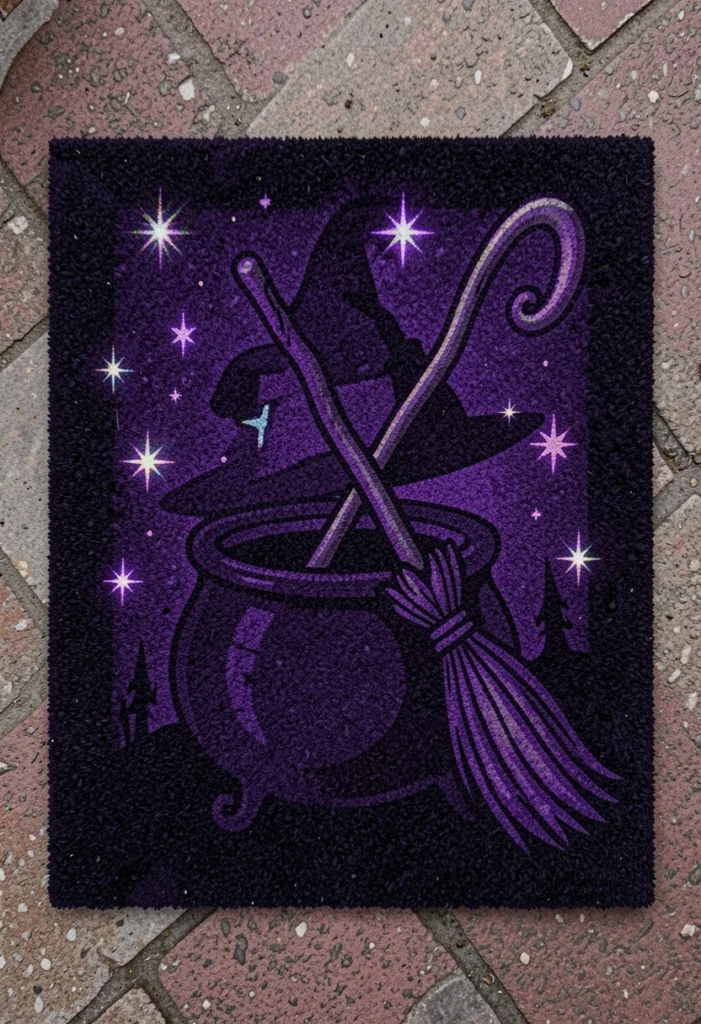
A witch-themed mat adds a playful, magical note to your entrance. The strongest versions keep it simple: one clear focal image such as a pointed witch hat, a broomstick, or a bubbling cauldron, plus a short funny phrase. Lines like “Witch Way to the Party?” or “Welcome, My Pretties” always get a reaction from guests, and the deep purple, green, and black palette reads clearly even in dim porch light.
How to do it: Block out the main shape first in a single color silhouette, for example a black hat with a purple band. Add the lettering above or below the image once the silhouette is dry. Small details sell the theme: a few painted stars, a crescent moon, tiny potion bottles, or a sprinkle of glitter paint over the cauldron bubbles for a magical sparkle.
Design tip: Limit yourself to three colors plus black. Witch designs can get busy quickly, and a tight palette keeps the mat looking stylish instead of chaotic.
5. Jack-O’-Lantern Face Mat
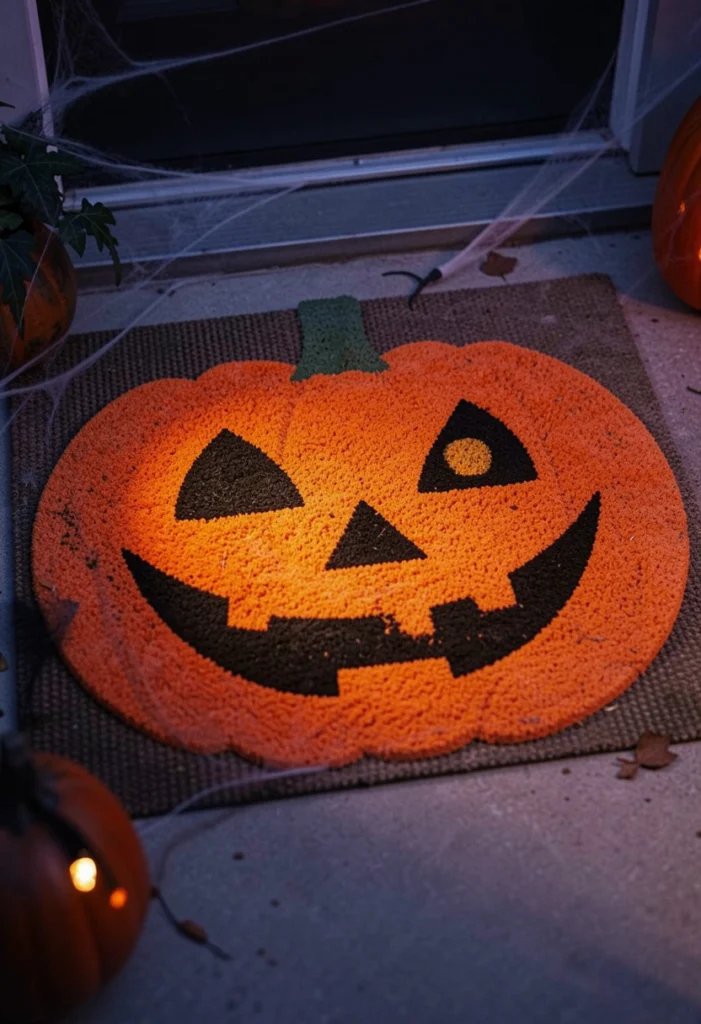
The jack-o’-lantern face is the most recognizable Halloween image of all, and it translates beautifully onto a door mat. One oversized pumpkin face in the center of the mat is bold, cheerful, and readable from the street. Because there is no single correct face, every painter at the party can create a completely different personality, from a goofy gap-toothed grin to a genuinely menacing snarl.
How to do it: Paint a large orange pumpkin shape covering most of the mat, leaving a small border of natural coir around the edge. Once dry, sketch the face in chalk and fill the eyes, nose, and mouth with black paint. For a more dynamic mat, paint two or three smaller pumpkins in a row, each with a different expression, and finish with a green stem and a curling vine along the top.
Beginner note: This is the most forgiving design on the list. Wobbly lines actually suit a carved pumpkin look, so it is a safe first project for nervous painters.
6. Haunted House Silhouette Mat
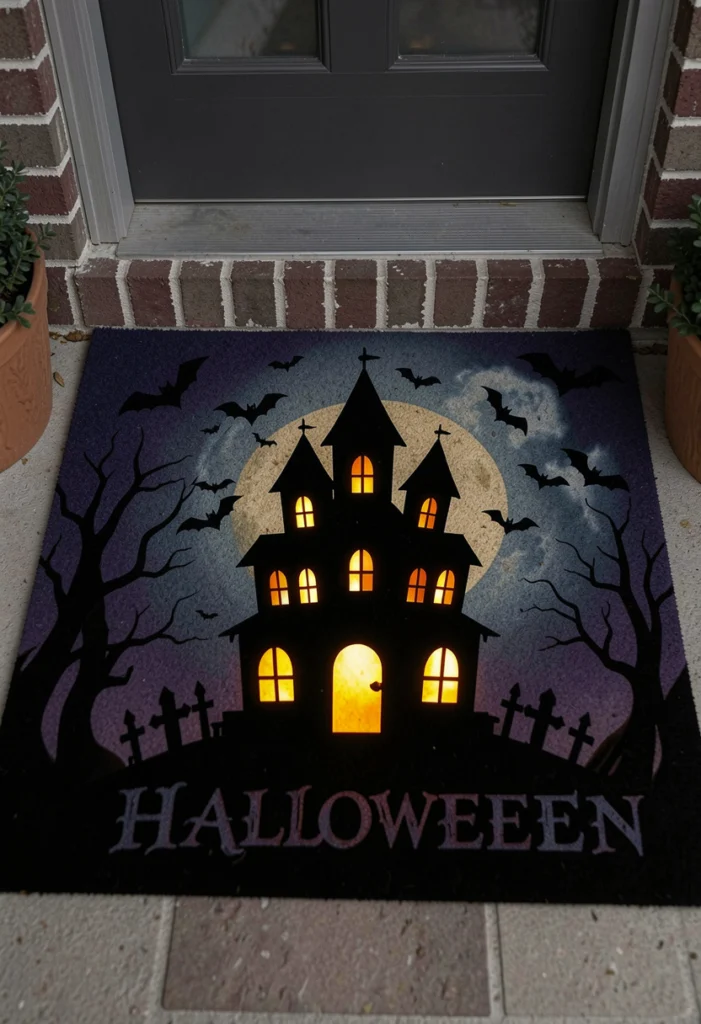
A haunted house silhouette is the most dramatic design here, and it rewards a little patience. A crooked black house against a deep blue or purple night sky, with glowing yellow windows, a full moon, and bats overhead, creates a whole scene at your doorstep. It works best as a group project at a painting party, where one person paints the sky, another the house, and another adds the small details.
How to do it: Paint the background first, blending dark blue at the top into black at the bottom while the paint is still wet. Let it dry fully, then paint the house as one solid black silhouette with a slightly leaning tower or chimney for character. Add windows last with a small brush and yellow or warm orange paint, keeping them uneven in size so the house feels old and crooked. A white circle moon and three or four simple bat shapes finish the sky.
Lighting tip: This mat looks its best under warm porch lighting, which makes the painted windows appear to glow. Place it where your porch light falls directly on it.
7. Skeleton Welcome Mat
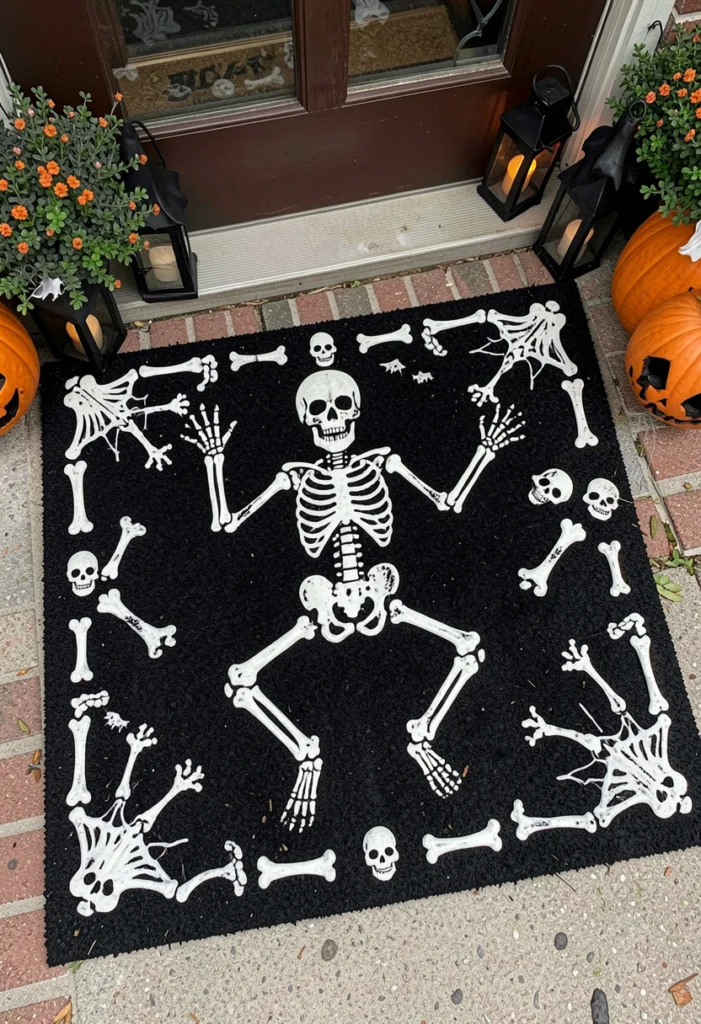
A skeleton mat is playful rather than frightening, which makes it a great fit for family homes and party entrances. You can paint a full waving skeleton stretched across the mat, a pair of skeleton feet at the bottom edge, or just one bony hand reaching up from the corner. Add a humorous phrase like “Welcome, Mortals” or “Bone Appetit” and the mat becomes a conversation piece before guests even ring the bell.
How to do it: White paint on a black or dark gray background gives the strongest contrast, so paint the base color first. Sketch the skeleton in chalk, keeping the bones as simple rounded rectangles and circles rather than trying for anatomical detail. Party guests can divide the work by decorating different bones or adding accessories such as a top hat, a bow tie, or a pumpkin bucket in the skeleton’s hand.
Easy shortcut: If a full skeleton feels ambitious, a row of white footprints with toe bones painted on is a five-minute version that still reads clearly as a skeleton theme.
8. Bloody Handprint Horror Mat
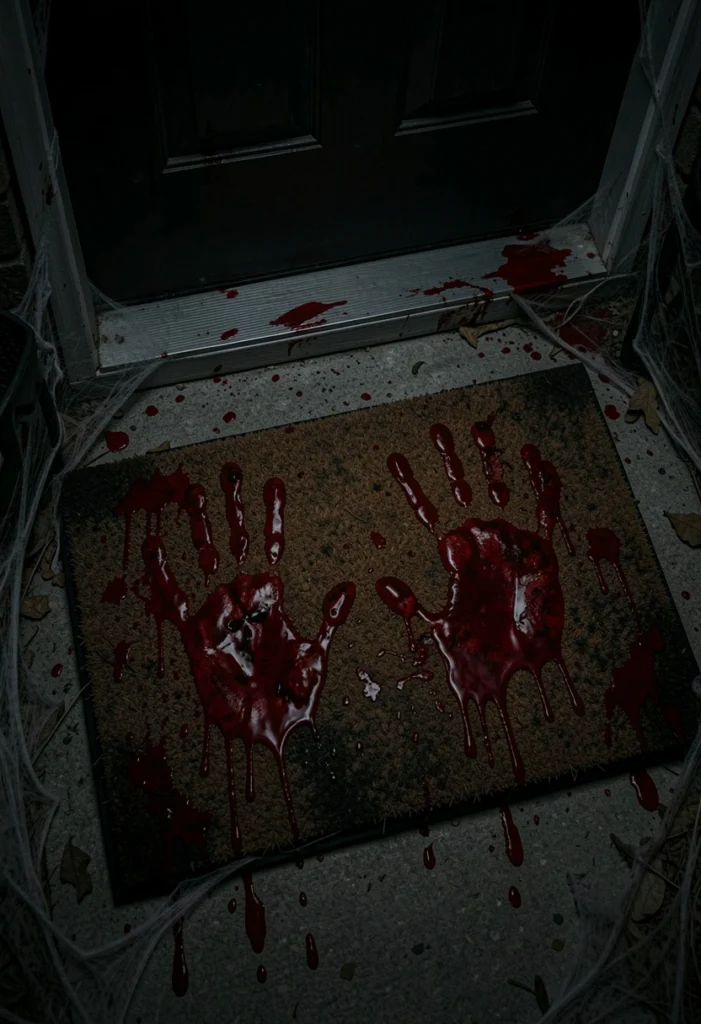
For haunted-house fans, the bloody handprint mat is the scariest design in this collection, and one of the fastest to make. Bloody red handprints and drips smeared across a pale mat look genuinely unsettling, especially with a warning phrase like “Turn Back Now” or “Enter If You Dare” painted in rough, uneven letters. It needs no drawing skill at all, which makes it perfect for a quick painting party session.
How to do it: Start with a natural or light gray mat so the red shows up clearly. Pour red outdoor paint onto a paper plate, press your palm flat into it, and press firmly onto the mat, twisting very slightly as you lift for a smeared effect. Drag a few prints sideways to suggest movement, then add drips by loading a brush and flicking it lightly from a low height. Layer two or three prints at different angles for a more intense horror effect.
Safety note: Use washable paint for the handprinting step itself if kids are helping, and do the detailed lettering with permanent outdoor paint afterward. Pair this mat with dim lighting or a fog machine on Halloween night for the full haunted effect.
9. Black Cat Halloween Mat
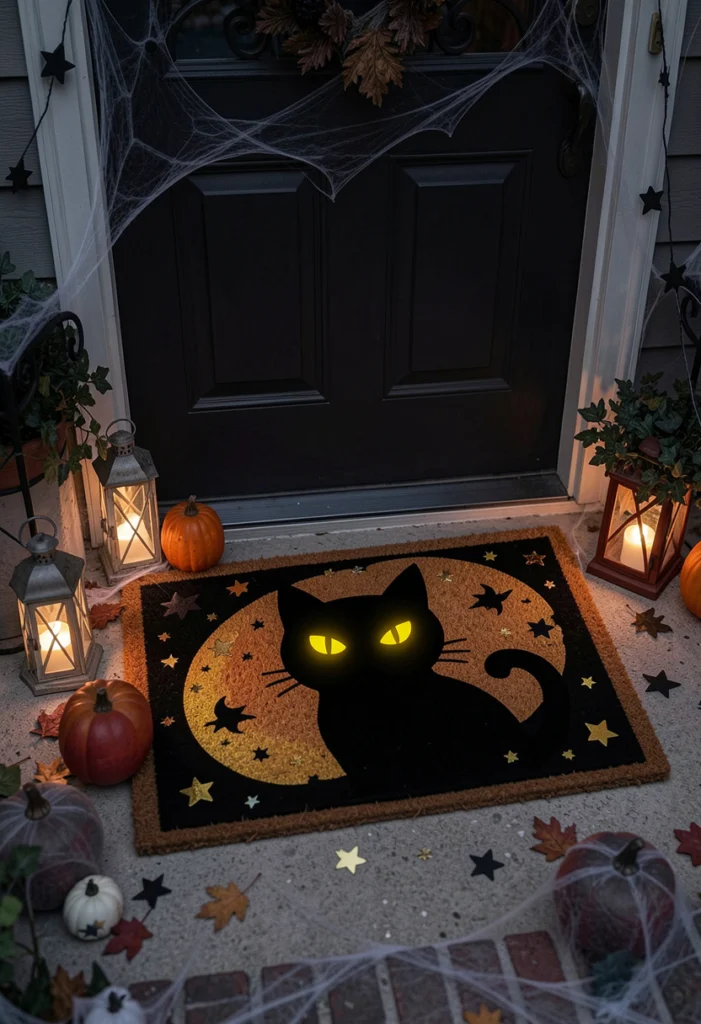
The black cat is a Halloween classic that suits both cute and gothic porch styles. A sleek cat silhouette, sitting upright or arching its back, is one of the easiest animal shapes to paint because it is a single solid color with no internal detail except the eyes. Two glowing yellow or green eyes against the black shape create all the drama the design needs.
How to do it: Sketch the cat outline in chalk, checking the proportions before you commit to paint, especially the tail curve and ear points. Fill the shape with black paint in dabbing strokes. Once dry, add the eyes with a fine brush, plus a crescent moon, a few stars, or a broomstick leaning beside the cat for a magical setting. Each party guest can pose their cat differently, so a set of these still looks coordinated without being identical.
Style match: This design pairs beautifully with the porch setups in our farmhouse Halloween porch decor ideas, where black accents and natural textures dominate.
10. Candy Corn Color Block Mat
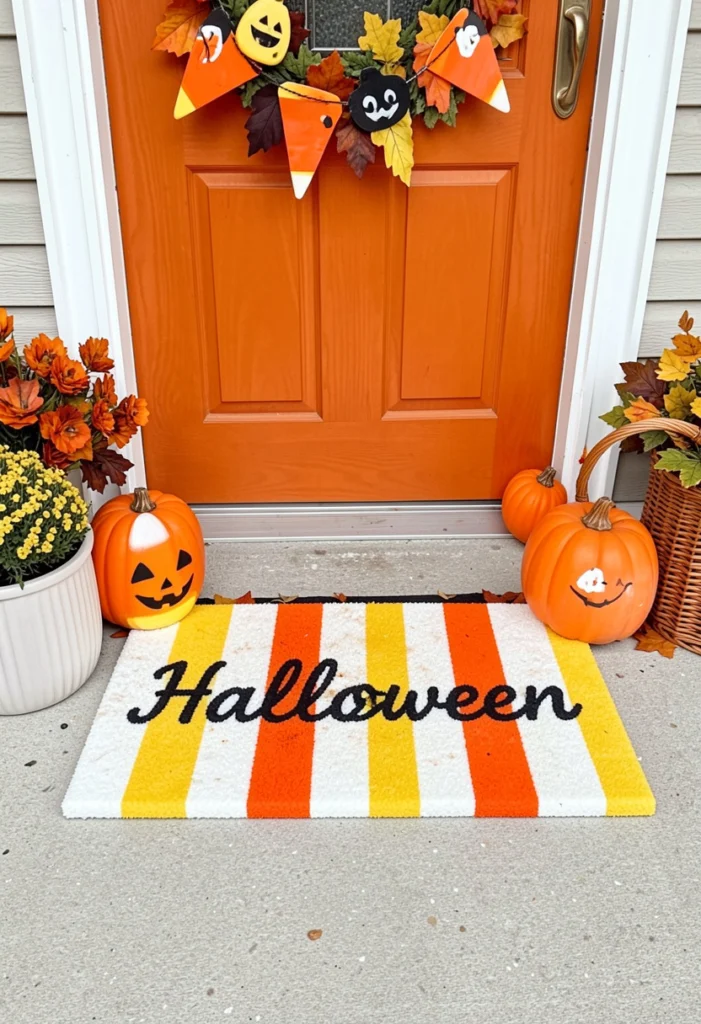
Not every Halloween mat has to be spooky. The candy corn mat is bright, cheerful, and instantly recognizable: three bold bands of yellow, orange, and white that mirror the classic candy. It suits family-friendly homes, apartments, and anyone decorating with kids, and its clean stripes make it one of the fastest mats to finish at a painting party.
How to do it: Divide the mat into three horizontal sections with painter’s tape, following the candy corn order: yellow at the bottom, orange in the middle, white at the top. Paint one section at a time and let each band dry before taping the next, so colors stay clean where they meet. For extra personality, add a short phrase across the orange band such as “Sweet Welcome” or “Trick or Treat Yourself” in black or white lettering.
Variation: Turn the stripes vertical for a modern look, or paint a single giant candy corn triangle in the center of a black mat for a bolder graphic effect.
11. Potion Bottle Label Mat
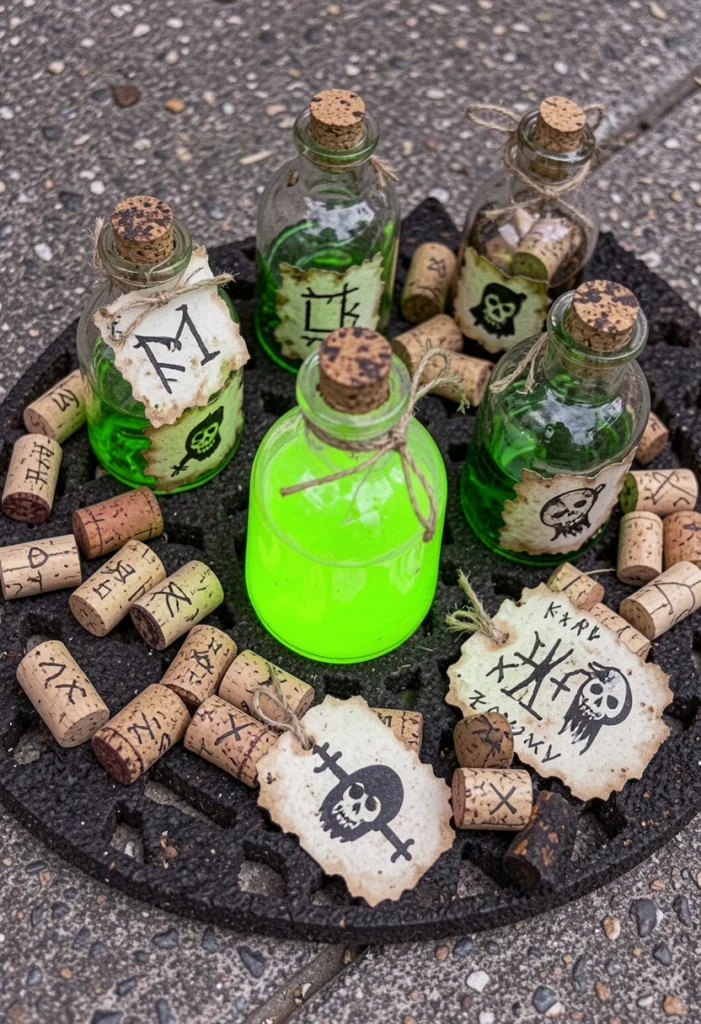
A potion bottle mat brings a magical apothecary feel to the doorstep and is a lovely choice for painters who enjoy detail work. Three or four old-fashioned bottles in different heights, each with a hand-lettered label such as “Witch’s Brew,” “Poison,” or “Spider Venom,” create a design that rewards a closer look. Deep green, purple, and black tones keep the palette moody and unmistakably Halloween.
How to do it: Paint the bottle silhouettes first, varying the shapes: one tall and thin, one round, one square. Leave a small unpainted rectangle on each bottle for the label, or paint the label area cream once the bottle color dries. Add the label text with your finest brush, then finish with bubbling circles rising from the bottle necks and a few drips down the glass. A light dry-brush highlight along one side of each bottle makes the glass look rounded.
Skill level: This is the most detail-heavy design on the list, so at a painting party it suits the confident painters, while beginners work happily on the typography or candy corn mats.
12. Graveyard Scene Mat
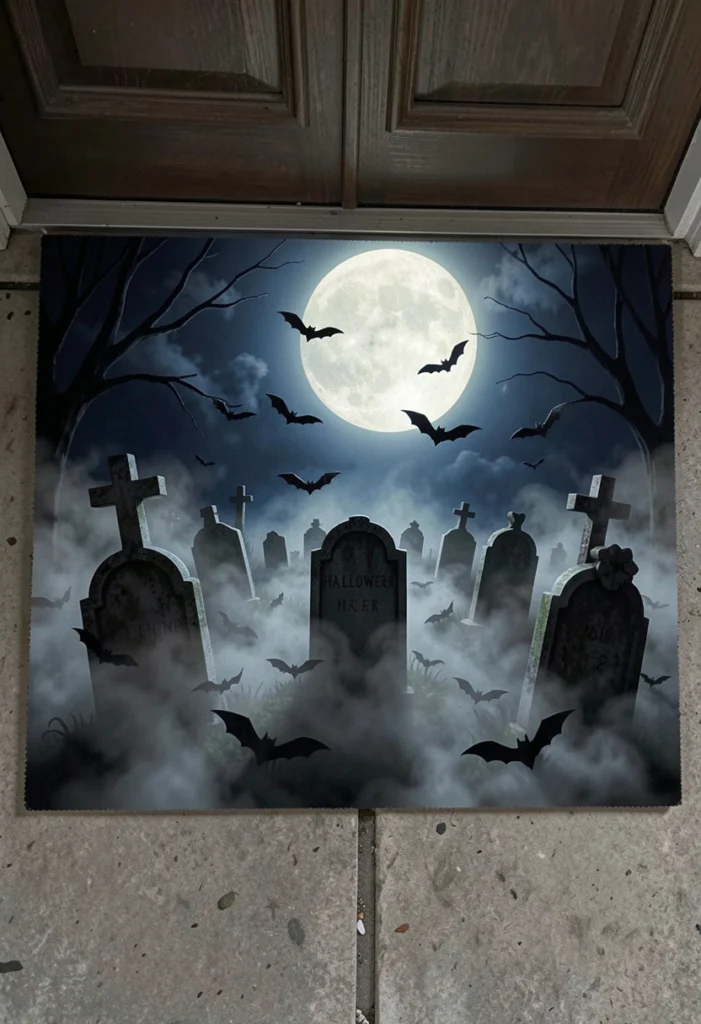
A graveyard scene turns your doorstep into a tiny haunted landscape. Crooked tombstones, a bare twisted tree, drifting fog, and a big low moon create depth that most door mats never attempt, and funny tombstone inscriptions keep the mood light. Names and dates are where the humor lives, so leave room for lettering when you plan the layout.
How to do it: Paint a gray or deep blue-gray background and let it dry. Add tombstones in dark gray along the middle band of the mat, tilting a few at angles, and paint the inscriptions in lighter gray or white once they dry: “RIP,” “Here Lies Less Moore,” or your family name for a personalized joke. Silhouette a leafless tree at one edge and a fence line behind the stones. Dry-brush a little white across the bottom edge for ground fog, and finish with bats and a pale moon in the sky area.
Group idea: At a painting party, each guest can design one tombstone inscription. The finished mat becomes a record of everyone’s humor, which makes it a party favorite.
13. “Hey Boo” Cute Typography Mat
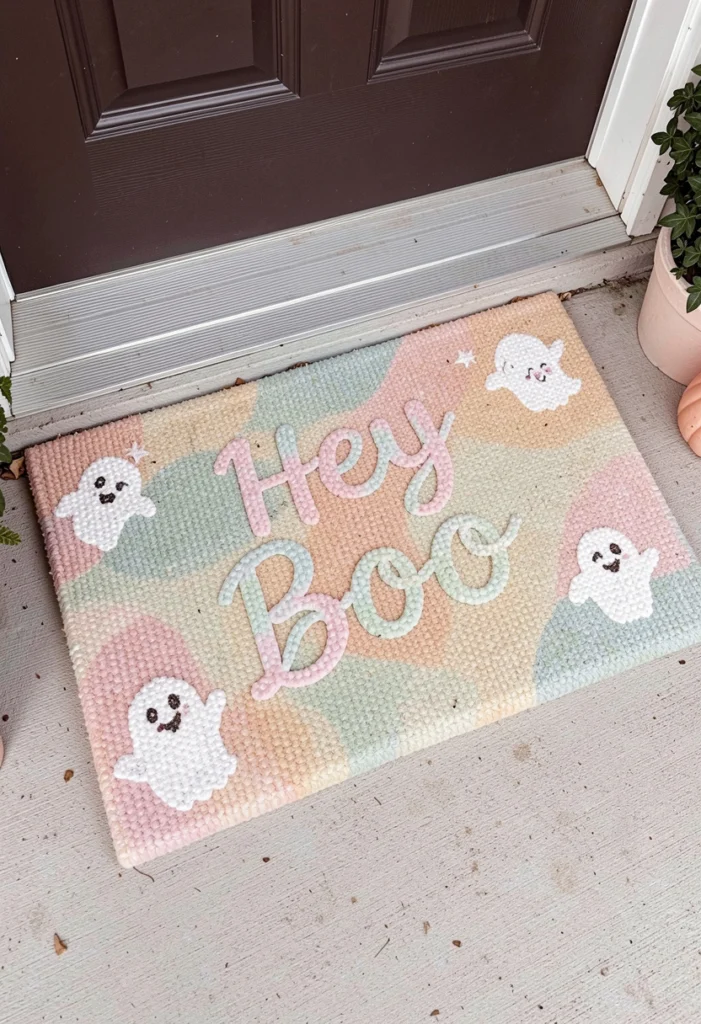
“Hey Boo” is the trendy, friendly greeting that has taken over modern Halloween decor, and it makes a charming door mat. The design lives on playful lettering, usually rounded or bubble-style, often with a small smiling ghost standing in for one of the letters. Painted in soft pastel Halloween colors such as peach, cream, lavender, and black, it fits the cute aesthetic that dominates apartment and small-porch decorating right now.
How to do it: Sketch the words large and centered, with the ghost shape replacing the letter “o” in “Boo” or sitting on top of the final letter. Fill the letters with your pastel base color, then outline them in black with a fine brush once dry, which makes pastel paint readable on coir. Add tiny hearts, stars, or a smiling ghost face for the finishing detail. If cute indoor decor is your theme this year, you will find matching inspiration in our cute DIY Halloween decor ideas.
Readable from the road: Whatever colors you choose, test the contrast by viewing the mat from a few steps away. If the letters disappear, a black outline or shadow fixes it instantly.
14. Bat Swarm Flying Mat
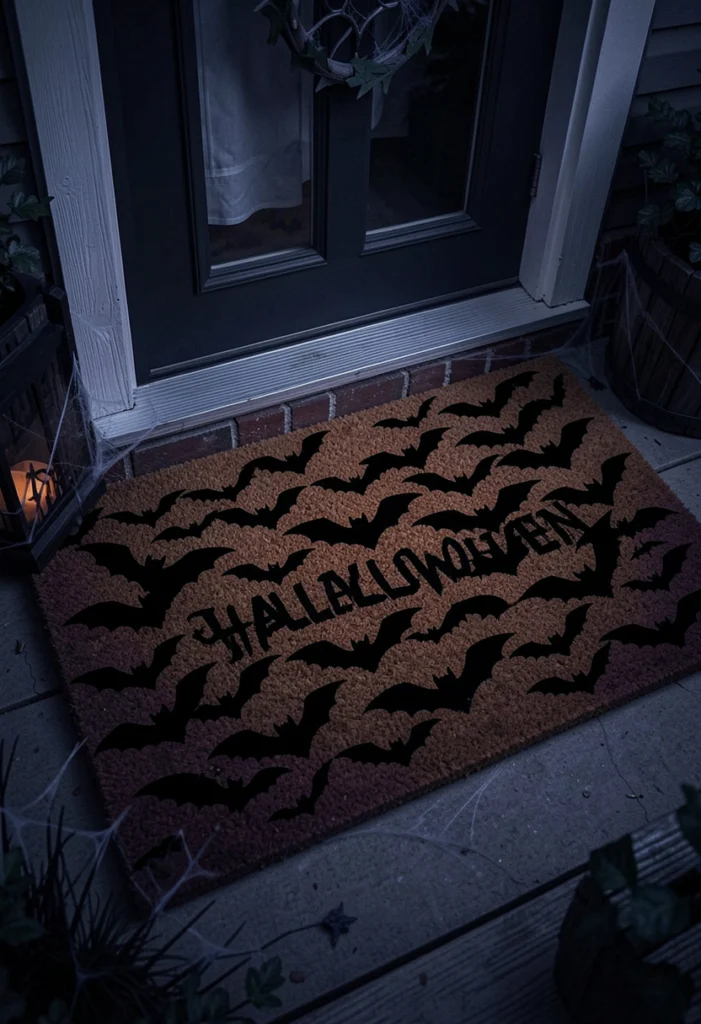
A bat swarm mat is simple to paint and surprisingly dramatic. A stream of black bat silhouettes sweeping diagonally across the mat, growing smaller as they fly away, creates movement that flat designs lack. Against a dusk gradient of purple, orange, and black, it reads as a whole evening sky compressed into a doorstep, and it is one of the easiest group designs because each painter can add bats in different sizes and positions.
How to do it: Blend the sky first, working quickly while the paint is wet so the colors melt into each other from orange at the bottom to deep purple at the top. Once the sky is completely dry, paint the bats: three or four large bats in the foreground corner, then progressively smaller ones trailing across the mat. A bat is just two curved wing arcs meeting at a small body, so a simple paper template keeps the shapes consistent.
Common mistake: Painting the bats before the sky is fully dry. The black will drag and muddy the gradient, so give the background at least a full hour for this design.
15. Glow-in-the-Dark Halloween Mat
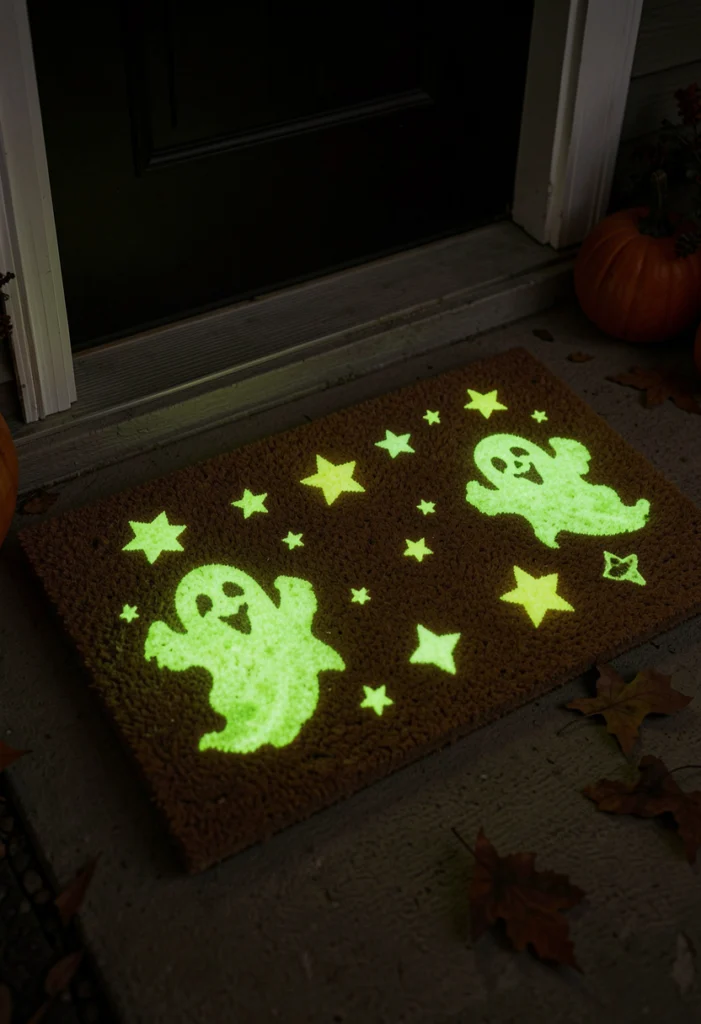
The glow-in-the-dark mat is the one design that gets better after sunset. Painted with glow paint over a normal design, it looks like an ordinary mat in daylight, then lights up with ghosts, stars, or glowing lettering when darkness falls and trick-or-treaters arrive. It is part decoration, part surprise, and it genuinely helps guests see the step on a dark porch.
How to do it: Paint your base design first in regular outdoor paint: ghosts, a moon and stars, or a simple “Boo” are ideal because their shapes glow clearly. Once fully dry, trace the key shapes with glow-in-the-dark outdoor paint, applying two or three coats and letting each coat dry in between, since one thin coat glows weakly. Charge the mat under your porch light or with a few hours of daylight, and it will glow through the busiest trick-or-treat hours.
Buying note: Check that the glow paint is rated for outdoor or fabric-and-coir use. Indoor craft glow paint washes and wears away quickly outside, especially on a mat that gets stepped on and rained on.
Final Words
A DIY Halloween door mat is one of the cheapest and most satisfying Halloween projects you can make: one plain mat, a few paints, and an hour of creativity gives you a decoration that greets every guest before you do. Whether you choose the classic “Trick or Treat” lettering, a cute ghost family, or a full graveyard scene, the best design is the one that matches your porch and makes you smile every time you come home. Hosting a painting party multiplies the fun, since everyone leaves with a finished mat and a story to go with it.
Once your mat is dry and sealed, complete the entrance with a matching centerpiece for the party table from our Halloween centerpiece ideas, and your Halloween setup is ready well before the first knock on the door.
Frequently Asked Questions
What kind of paint works best on a coir door mat?
Outdoor acrylic paint or exterior enamel paint works best on coir. Both grip the rough fibers, stay flexible, and resist rain far better than indoor craft paint. Apply two thin coats with a stiff brush using dabbing strokes, and finish with a clear outdoor sealant spray once the design is fully dry.
How long does a painted door mat take to dry?
Each coat feels dry to the touch in about 20 to 30 minutes, but the mat needs a full 24 hours of curing before it goes outside and gets stepped on. Placing it too early is the most common reason painted designs wear away quickly.
How do I make the design last through the whole season?
Seal the finished mat with two light coats of clear outdoor sealant, keep it under a covered porch where possible, and shake or brush off dirt instead of hosing it down. A sealed mat on a covered porch will easily last the full Halloween season and can be stored flat for the next year.
Can kids join a door mat painting party?
Yes, and the simplest designs are ideal for them. The candy corn stripes, the jack-o’-lantern face, and the handprint mat need no drawing skill. Give kids washable paint for their draft attempts and save the outdoor paint for the final version, and let adults handle stencils and fine lettering.
What size door mat should I buy?
The standard 18 x 30 inch coir mat suits most front doors and gives enough room for lettering and a central design. For double doors or a wide entryway, step up to a 24 x 36 inch mat so the design does not look lost in the space.
More Ideas You Will Love
 15 Window Trim Ideas: Beautiful Accents to Elevate Your Home
 11 Green House Exterior Ideas: Stylish & Inviting Designs
 19 DIY Christmas Mantle Decor Ideas for 2025 Inspiration
 15 Scary Halloween Porch Decorations You Can DIY
 17 Gray Floor Ideas for Modern, Cozy & Stylish Interiors
 12 Common Summer Gardening Mistakes (And How to Avoid Them!)