
12 DIY Halloween Outdoor Decorations


Your front yard is the first thing trick-or-treaters and neighbors see, so it deserves more than a single sad pumpkin by the steps. Great outdoor Halloween decor layers three things: light, height, and a little bit of story. The good news is that almost every idea below can be built from dollar-store supplies, craft leftovers, and things already sitting in your garage.
Each of the 12 ideas comes with a real materials list, measurements that actually work outdoors, and the small tricks that keep decorations standing through wind, drizzle, and one very excited dog. Start with whichever lighting idea appeals to you, because lighting does more heavy lifting after dark than any prop, then add one or two ground-level scenes for daytime visitors.
You can knock out two or three of these in a single weekend afternoon, or go all in and turn the whole block into your haunted audience. Either way, build the lights first and the props second.
1. Spooky DIY Ghost Lanterns

Ghost lanterns are one of the easiest and most charming outdoor decorations you can make, and they look genuinely magical once the sun goes down. Cut white cotton fabric or cheesecloth into 36 by 36 inch squares. Drape one square over a 12 inch balloon or a quart-size mason jar, then secure it at the “neck” with white twine. Draw simple oval eyes and a wavy mouth with a black fabric marker, working from the outside of the fabric so the face reads clearly at night.
The light is what makes them glow. Drop a battery-operated LED tea light or a small puck light inside each mason jar, or tape one under the balloon knot before draping. Warm white LEDs give a classic friendly-ghost glow; cool white reads spookier. Hang them from tree branches with clear fishing line at staggered heights between 4 and 7 feet so they look like a small crowd of ghosts drifting in the dark, or line them along both sides of the walkway about 3 feet apart to guide trick-or-treaters to the door.
Two practical tips: spray the fabric with an outdoor fabric protector so morning dew does not make them sag, and skip real candles entirely. An LED puck light costs about a dollar, runs for weeks on one battery, and will not set your maple tree on fire.
2. Haunted Graveyard Setup

Nothing says Halloween yard quite like a crooked little cemetery. Start with 1 inch rigid foam insulation boards, cut into tombstone shapes roughly 24 inches tall and 18 inches wide. A bread knife or jigsaw handles the curves easily. Spray the stones matte gray, then dry-brush black acrylic paint into the carved cracks and along the bottom edges to fake age and moss. This is where the realism comes from, so do not rush it.
Carve or paint epitaphs with a wood-burning tool or a permanent marker. Funny ones (“I told you I was sick”) get laughs from adults; classic ones (“Rest in Peace, 1692”) keep it creepy for the purists. Mount each stone on a 12 inch wooden dowel pushed deep into the soil, and lean them at slightly different angles. Perfectly straight tombstones look like a showroom; tilted ones look haunted.
Scatter a few plastic skeleton hands and bones emerging from the ground around the stones, and run a low-lying fog machine behind the back row for about 30 minutes at dusk. The fog hugs the grass and makes the whole scene look twice as deep as it is. If your soil is hard, soak it the night before so the dowels slide in without snapping the foam.
3. Creepy Crawling Spider Webs

Oversized spider webs turn an ordinary porch or hedge into a haunted attraction in about twenty minutes. Stretch cotton spider webbing (the bagged kind from any craft store) between two anchor points, then pull it outward into triangles, thinning it as you go so it looks like real spun silk rather than a cotton ball. Bushes, fence posts, porch railings, and the corners of windows all work as anchors.
The spiders sell the scale. Make your own from 4 inch black foam balls: push eight black pipe cleaners through the body as legs, bend them at the “knee,” and add two red craft-store gems for eyes. Go big, because small spiders disappear against a big web. Position two or three at different heights, as if they are crawling across the web or dropping from above, with one large spider dead center where the porch light hits it.
If your porch is the main stage rather than the yard, these scary Halloween porch decorations layer nicely with a webbed railing. One caution: keep webs away from the actual walking path. Guests will forgive a spider on the bush; they will not forgive webbing in the face.
4. Pumpkin Pathway Lights

A glowing line of pumpkins is the single most effective way to make a walkway feel like an event. Carve real pumpkins if you love the tradition, but know that foam craft pumpkins look nearly identical at night and last the entire season without rotting. Cut the face on the side that faces the street, because that is the audience that matters.
Skip real candles. A single LED tea light inside each pumpkin gives a warm flickering glow, or run a 3 foot section of warm-white string lights through the bottom of each one for a brighter, more even light. Space the pumpkins 3 to 4 feet apart on alternating sides of the path so the light zigzags. For a modern twist, paint a few pumpkins matte black, chalky white, or metallic gold instead of carving them; the painted ones catch the LED light differently and add variety to the row.
Drill a small drainage hole in the bottom of each pumpkin so rain does not pool inside and drown the lights. And if you want the porch steps above the pathway to match the effort, these easy DIY Halloween porch decor ideas take the same afternoon to build.
5. DIY Witch Silhouettes

Witch silhouettes add instant mystery because the human eye reads a flying-witch shape faster than almost any other Halloween symbol. Cut the shape from half inch plywood for a permanent version, or from black foam board for a one-season build. A printed template taped to the board makes the jigsaw work easy; the classic profile is a pointed hat, flowing cape, broom, and one bent knee.
The magic is all in the backlighting. Mount the silhouette 2 to 3 feet in front of a warm orange or purple outdoor floodlight so it throws a sharp shadow on the wall, fence, or garage door behind it. A 4 foot tall witch reads clearly from the street at 30 feet, which is about the distance that matters. Position a second silhouette near an upstairs window, slightly tilted, as if she just flew past.
Attach plywood versions to fences with zip ties through drilled holes, and run the floodlight on an outdoor-rated extension cord with a dusk-to-dawn timer. Total cost is under fifteen dollars if you already own the saw, and the shadow effect looks far more expensive than it is.
6. Hanging Bat Swarm

A swarm of bats pouring out of an upstairs window or across the garage gable is lightweight, cheap, and reads beautifully from the curb. Cut bat shapes from black craft foam or heavy cardstock in three sizes: 6, 9, and 12 inch wingspans. Fold each bat slightly down the center so the wings have dimension instead of lying flat.
Hang them from the eaves with clear fishing line cut to staggered lengths between 1 and 3 feet, and stick a few directly to the siding or brick with removable outdoor mounting strips. Angle the bodies in different directions, some banking left, some diving, so the swarm looks like it is actually moving. About 20 to 30 bats make a convincing swarm on a standard two-car garage; fewer than a dozen just looks like decoration.
Because they weigh almost nothing, wind makes them flutter, which is a feature, not a bug. If a storm is coming, take five minutes to pull the hanging ones inside; the stuck-on ones will survive just fine.
7. Scary Scarecrow Display

A Halloween scarecrow works because it is human-shaped, and human shapes in a dark yard trigger a double-take every time. Build the frame from 5 feet of PVC pipe: one vertical piece for the spine and one horizontal piece for the arms, joined with an elbow fitting. Dress it in an old flannel shirt and jeans stuffed loosely with straw, and top it with either a foam pumpkin with a carved face or a burlap sack with stitched X eyes.
Seat it on a porch chair or a hay bale rather than standing it in the middle of the lawn. A seated figure looks like it is waiting, which is creepier and also much more stable in wind. Tuck two red LED tea lights inside the head so the eyes glow after dark, and let a strip of torn black fabric hang from one arm so it moves in the breeze.
Match the scarecrow to your theme: a straw hat and plaid reads rustic harvest, while a torn black coat and pale mask reads full horror. Either way, keep it at least 6 feet back from the walkway so startled toddlers have an escape route.
8. Glowing Eyes in the Bushes

This is the highest-impact, lowest-effort decoration on the list. Take empty toilet paper rolls or short cardboard tubes, cut two almond eye shapes out of one side, and slide a glow stick or a short piece of battery LED strip inside. Wedge the tubes into bushes, hedges, or dark corners of the yard with the eyes facing the walkway.
The trick is variety. Place pairs at different heights, 1 foot for something small lurking low, 3 to 4 feet for something standing, and use different glow colors in different bushes: green in one, red in another, yellow in a third. Visitors will swear something is watching them, and technically they are right.
Glow sticks last one good evening, so save them for Halloween night itself. For the whole season, use LED strips on a timer set for dusk to 10 pm. A ten dollar strip cut into short sections will outfit every bush you own.
9. DIY Floating Candles

Floating candles give you the haunted-mansion look with almost no building. Buy flameless LED taper candles, the kind with a realistic flicker, and tie clear fishing line around the middle of each one. Hang them from tree branches or the porch ceiling with small clear removable hooks, staggering the heights between 6 and 8 feet so they form a loose cloud.
Hang them in odd-numbered clusters of three or five rather than single file; clusters read as intentional and look better in photos. Under a covered porch they will survive the whole season untouched, and the flicker setting on most LED tapers is convincing from more than a few feet away.
This pairs beautifully with a generally moody yard, so if you are building out the whole look, browse these outdoor Halloween decor ideas for lighting combinations that work with candlelight. One safety note that should not need saying: never hang real candles from fishing line. The LED versions exist precisely so you do not have to.
10. Monster Door Entrance

Turning the front door into a giant monster face is the friendliest big-impact project here, and kids absolutely love it. Cover the door with a purple or lime-green plastic tablecloth as the “skin,” smoothing it flat and trimming around the handle. Make two huge eyes from 8 inch white paper plates with black construction-paper pupils, and cut a jagged row of teeth from white foam board for the bottom half of the door.
Add orange or black crepe-paper streamers along the top edge as wild monster hair, and give it bushy eyebrows from black construction paper for extra expression. Silly, scary, or somewhere in between is entirely up to the shape of the mouth: a wide grin reads playful, while a crooked snarl reads spooky.
Use painter’s tape on every edge so nothing damages the paint, and finish the entrance with a DIY Halloween door mat underneath. The mat grounds the whole scene and gives trick-or-treaters something fun to stand on while they wait.
11. Skeleton Yard Party

Poseable 5 foot plastic skeletons are the most versatile Halloween prop ever made, because the joke changes every year while the prop stays the same. Pose two skeletons mid card game at a patio table, lean one against the mailbox like it is waiting for the mail, or have one climbing the front tree with zip ties around its wrists and ankles.
Dress them for the theme: a tiny witch hat on one, a pirate bandana on another, a football jersey on the third. Small costumes from the pet section of any discount store fit skeleton frames surprisingly well. After dark, light the scene from below with a ground spotlight or two; uplighting throws long dramatic shadows across the lawn and makes even a silly scene look cinematic.
Zip-tie the joints in your chosen pose so wind does not slowly turn your card game into a collapse, and bring the skeletons under cover if heavy rain is forecast. They are hollow plastic, which means they are light, poseable, and absolutely determined to blow away.
12. Foggy Cauldron Display

A bubbling witch’s cauldron makes a perfect yard focal point because it moves. Start with a 22 gallon black plastic cauldron, the kind sold every October, or paint a plastic storage tub matte black. Set a 400 watt fog machine behind it so the fog rolls up and over the rim, or use dry ice in warm water for thick low fog on Halloween night itself. Tuck two green LED puck lights under the rim so the fog glows from within.
Surround the cauldron with potion bottles (any glass bottles with printed labels), a few plastic skulls, and scattered LED candles. A wooden broom leaning against the cauldron and a pointed hat on a nearby stake complete the witchy workstation. Keep the whole display at least 3 feet back from the walkway so fog does not surprise anyone mid-step.
Handle dry ice with gloves and tongs, never with bare hands, and never seal it in an airtight container. A fog machine with low-lying fog juice is the easier, reusable option: one bottle lasts several evenings and there is nothing to handle but a power cord on a timer.
Final Words
Decorating your outdoor space for Halloween does not have to be expensive or complicated. With these 12 DIY Halloween outdoor decorations, you can turn your yard into a spooky, creative, and unforgettable display using simple materials and a bit of imagination. Start with the lighting, anchor the yard with one big scene like the graveyard or the cauldron, and let the small surprises, the glowing eyes, the bat swarm, do the rest.
Whether you prefer eerie graveyards, glowing lights, or playful monster themes, each idea offers a unique way to express your Halloween spirit. Build a few this weekend, and by the time the trick-or-treaters arrive, your yard will be the one they remember.
Frequently Asked Questions
How do I keep outdoor Halloween decorations from blowing away?
Anchor everything. Use 12 inch wooden dowels or tent stakes for anything stuck in the ground, sandbags or concrete blocks hidden behind larger props, and zip ties instead of string for anything hung. Hollow plastic props like skeletons should be zip-tied to something heavy or brought inside before storms.
Are LED lights safe to leave outside all night?
Yes, as long as they are rated for outdoor use. Battery-operated LED tea lights and puck lights are the safest option since there is no cord at all. For plug-in lights and fog machines, use outdoor-rated extension cords, keep connections off the ground and out of puddles, and run everything on a timer so it shuts off after trick-or-treating hours.
How early should I set up outdoor Halloween decorations?
Most people set up during the first or second weekend of October, which gives you three full weeks of enjoyment. Save the most weather-sensitive pieces, like carved real pumpkins and glow sticks, for the final week or Halloween night itself. Foam pumpkins and LED lights can go up as early as you like.
How do I make DIY outdoor decorations waterproof?
Choose materials that do not absorb water: foam board instead of cardboard, plastic pumpkins instead of real ones, and outdoor fabric spray on anything cloth. Seal painted wood and foam with a clear matte outdoor sealer, drill drainage holes in anything that can collect rain, and store paper-based decorations like the bat swarm indoors during heavy storms.
What is the cheapest way to decorate a yard for Halloween?
Light plus silhouette beats expensive props every time. A ten dollar set of glowing eyes in the bushes, a homemade graveyard from foam boards, and one colored floodlight will transform a yard for under thirty dollars total. Dollar stores in October are full of skeleton hands, webbing, and LED tea lights that look far more expensive once they are lit after dark.
More Ideas You Will Love
 16 Outdoor Loveseat Ideas: Comfortable & Chic Seating Solutions
 11 Outdoor Entertaining Area Ideas for Every Backyard Space
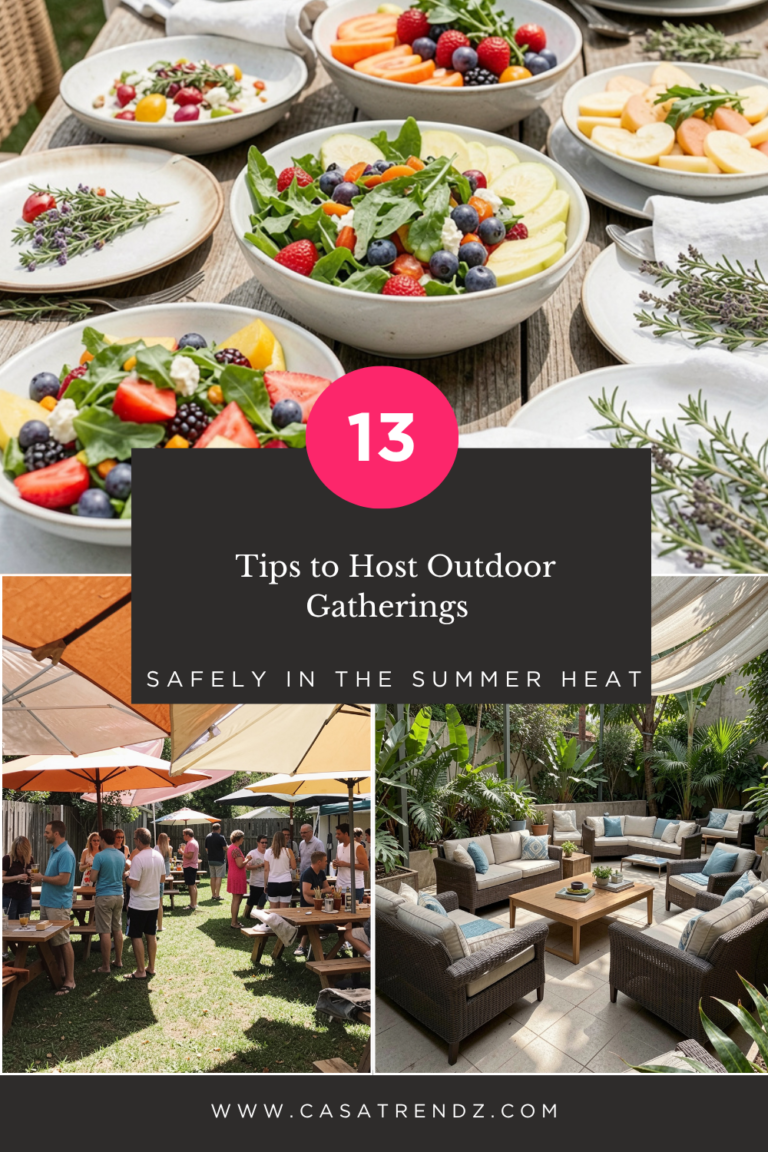 13 Tips to Host Outdoor Gatherings Safely in the Summer Heat
 15 Water Conservation Gardening Hacks for Drought Conditions Introduction
 15 Beach Cottage Exterior Ideas: Coastal Designs You’ll Love
 13 Ways to Style a Summer-Friendly Outdoor Dining Space