
18 DIY Outdoor Christmas Decoration Ideas for 2025 Homes


When the holidays arrive, your outdoor decor sets the tone for the whole season. Neighbors notice it first, guests walk through it on their way to your door, and on a dark December evening it is the glow from your yard that makes the street feel festive. You do not need a big budget or professional installers to get that effect. With a few weekends, basic tools, and materials from a hardware or craft store, you can build displays that look polished, hold up in winter weather, and pack away neatly in January.
This guide covers 18 DIY outdoor Christmas decoration ideas for every kind of home, from a small apartment balcony to a large front yard. Each idea includes the materials you need, realistic measurements, color guidance, and step by step instructions, so you can pick two or three projects to start with and add more each year. Whether your style is classic, rustic, or modern, you will find projects here that make your exterior glow with holiday spirit.
Before you start, plan for weather and power. Use only outdoor rated lights and extension cords, keep plugs off the ground in covered boxes, and use a timer so displays run from dusk to about 10 or 11 at night. That protects your lights, keeps energy use reasonable, and keeps your display looking intentional rather than left on around the clock.
1. Classic White String Lights on Trees

There is nothing more timeless than a tree wrapped in warm white string lights. Start with LED mini lights, which use far less power than old incandescent strands and stay cool enough to leave on for hours. For a small tree up to 10 feet tall, plan on about 100 lights per vertical foot, so roughly 1,000 lights. A 20 foot tree needs closer to 2,000 lights for a full look rather than a sparse one. Choose warm white (2700K) for a classic glow, or cool white if your home has a more modern, icy palette, but do not mix the two on the same tree.
Wrap from the trunk outward: start at the base, run the strand up the trunk, then spiral around the outer branches from the inside out, spacing each pass about 4 to 6 inches apart. Push the lights slightly into the branches so they sit inside the canopy rather than dangling on the surface, which gives depth and a more professional finish. If your tree is near the house, add a second strand of larger C9 bulbs along the lowest branches for contrast, since the mix of small and large bulbs reads beautifully from the street.
For extra sparkle, hang 8 to 12 shatterproof ornaments in clear, gold, or silver near the tips of the branches where they catch the light. Secure the plug end at the base of the trunk with a zip tie and run the cord along the ground in a covered channel so nobody trips. Check the lights at dusk from across the street, not just from underneath the tree, and fill any dark gaps before you call the job done.
2. DIY Wooden Christmas Yard Signs

Hand painted wooden signs are one of the cheapest ways to make a yard feel personal. Start with reclaimed fence boards, pallet planks, or a pine board cut to about 36 inches tall and 8 to 12 inches wide for a vertical porch sign, or 24 by 12 inches for a horizontal yard sign. Sand the edges lightly with 120 grit paper, wipe off the dust, and apply one coat of exterior primer so your paint grips the wood through rain and frost.
Paint your background first, classic choices are whitewashed wood, deep red, forest green, or charcoal, then let it dry for at least two hours. Sketch your message in pencil or use a printed stencil, then paint the letters in a contrasting color with a small flat brush. Short messages read best from the sidewalk: “Merry Christmas,” “Joy to the World,” “North Pole Express,” or your family name with “Est. 2025” style details. Seal the finished sign with two coats of clear exterior polyurethane, letting each coat dry fully, so the paint survives a wet winter.
Mount the sign on a stake for the yard or lean it beside the front door. Add a small pine sprig, a wired bow, or a miniature wreath at the top corner for dimension, but keep additions small so the words stay readable from at least 15 feet away. If you make two signs, repeat the same colors and font style so they look like a set rather than two unrelated projects.
3. Light-Up Candy Cane Pathway

A candy cane pathway is the friendliest way to guide guests to your door, and it works even on a small walkway. Store bought candy cane lights are the fastest option: look for sets of 10 to 12 canes, each about 18 to 24 inches tall, and space them 18 to 24 inches apart on alternating sides of the path, or in pairs facing each other for a more formal look. For a 20 foot walkway, that means about 10 to 14 canes per side.
To make your own, cut 3/4 inch PVC pipe into 24 inch lengths, bend the top 6 inches into a hook with a heat gun, and paint the pipe with red diagonal stripes over a white base using exterior spray paint. Wrap each cane with a 50 light warm white or red LED mini strand, securing the ends with clear zip ties, and push the straight end 4 inches into the soil or into a small sand filled bucket for hard surfaces. Anchor store bought canes the same way, since wind will topple an unanchored cane on the first stormy night.
Keep the spacing perfectly even by measuring with a tape rather than eyeballing it, and run the power cord along the edge of the path, not across it. Candy cane lights pair beautifully with white outdoor Christmas lights on the porch railings, since the white keeps the red and white canes from looking too busy. Swap any burnt out cane promptly, because one dark gap breaks the whole line.
4. DIY Wreaths for Windows and Railings

Wreaths are not just for the front door. Hanging one on every front window or along a porch railing gives your home a balanced, finished look that reads as intentional from the street. Build your base from a 14 to 18 inch grapevine or wire wreath form for windows, and a slightly larger 20 to 24 inch form for a railing centerpiece. Wrap the form with fresh fir or cedar branches if you want scent, or good quality faux greenery if you want the wreath to last for several seasons.
Layer in pinecones, clusters of faux red berries, and small ornaments, attaching each piece with floral wire rather than hot glue, which fails in cold and wet weather. Add a battery operated 20 light fairy strand woven through the greenery for evening sparkle, tucking the small battery box behind the wreath where it stays dry. Finish with a wired ribbon bow in red velvet, gold, or plaid, keeping the bow to about 6 to 8 inches wide so it frames the wreath instead of hiding it.
Hang window wreaths with a suction cup hook rated for outdoor use, or a magnetic window hanger if your windows are metal framed, and center each wreath in the window for symmetry. On railings, space wreaths evenly, one every 3 to 4 feet, and use the same bow and berry colors on every wreath. If you already love wreath making, our DIY Christmas wreath ideas cover door wreaths in the same style so your whole exterior matches.
5. DIY Christmas Lanterns

Lanterns are the most versatile outdoor Christmas decoration you can make, because they work on steps, porches, patios, and beside the front door, and they look good long after Christmas ends. Start with a metal frame lantern at least 10 to 12 inches tall, a large mason jar, or a glass hurricane, and check that it has a handle or a stable flat base so wind will not roll it off a step.
Fill the base with a layer of artificial snow, small pinecones, and two or three mini ornaments, then add a bundle of warm white fairy lights or a battery operated flameless candle in the center. Flameless candles are the safest choice outdoors, since real candles blow out and can crack cold glass. If you use fairy lights, choose a strand with a built in timer so the lanterns light themselves at dusk. Stick to warm white or amber tones for a cozy look, and avoid mixing blue white lights into the same group.
Group lanterns in odd numbers, three or five, varying the heights by 4 to 6 inches for a natural arrangement, and place the tallest lantern at the back of a step arrangement. Wipe the glass clean before you set them out, since dust dulls the glow more than you would expect. After the holidays, swap the Christmas fill for plain greenery or a plain candle and keep using the same lanterns through winter.
6. DIY Garland for Porch Railings

Garland turns a plain porch into a festive entryway in a single afternoon. Measure your railing first: for a 10 foot railing, buy 12 to 15 feet of garland so it can swag gently between attachment points rather than stretching tight. Faux cedar or Norfolk pine garland holds up best outdoors, and a pre lit garland with warm white lights saves you a whole wrapping step.
Attach the garland to the railing with zip ties or floral wire every 18 to 24 inches, letting it dip 6 to 8 inches between points for a soft, draped look. Weave in a second strand of lights if your garland is unlit, then add wired ribbon every 2 feet, pinecones, and small gold or red ornaments for color. Keep the additions evenly spaced, and step back to the sidewalk to check the balance before you finish tying everything down.
For a more luxurious feel, tuck in a few sprigs of real cedar or eucalyptus for scent, and spray the garland lightly with a clear matte sealant if your porch gets direct rain. Garland pairs naturally with a decorated entry, so if you are planning the whole front of the house, read our Christmas entryway decor ideas to match your door, mats, and planters to the same palette. Take the garland down before heavy snow builds up on it, since wet snow weight can pull the whole strand loose.
7. Snowflake Window Silhouettes

Snowflake silhouettes are a high impact, low cost project that works especially well for families and renters, since nothing is drilled or nailed. Cut oversized snowflakes, 18 to 36 inches across, from white foam board for indoor windows or from weatherproof white vinyl or corrugated plastic for windows that face harsh weather. Foam board gives the cleanest cut lines, while vinyl survives rain without warping.
Draw your snowflake by folding a square in half twice, then cutting triangles and notches along the folded edges, just like a paper snowflake but at a much larger scale. Keep at least 1 inch of uncut material along every fold so the finished flake holds together when you unfold it. Attach the flakes to the inside of the window with removable adhesive dots or suction cups, so indoor light backlights them at night and turns them into glowing silhouettes visible from the street.
Mix three sizes on each window, one large 30 inch flake in the center and two smaller 18 inch flakes at the corners, and repeat the same mix on every front window for symmetry. Avoid covering more than half the glass, since a window that is fully covered looks dark from inside. Store the flakes flat between sheets of cardboard after the season so they stay crisp for next year.
8. DIY Christmas Mailbox Makeover

Your mailbox is the first decoration visitors and neighbors see, and it takes less than an hour to dress up. Start by wiping the mailbox clean, then wrap a 6 foot length of faux garland around the post and over the top of the box, securing it with zip ties or floral wire at the back where the ties will not show. Tuck in two or three small ornaments and a sprig of berries for color.
Add a wide red ribbon, about 2 inches across, tied in a bow on the front of the post, and a small hanging sign that reads “Letters to Santa” if you have kids in the house. Keep every addition clear of the mailbox door and the flag, since the mail carrier still needs to open the box and raise the flag every day. If your mailbox is on a busy road, use reflective or light colored ribbon so drivers see it clearly at night.
Check the decorations after the first windy day and tighten anything that has slipped, since a mailbox garland that slides sideways looks untidy fast. Use only weatherproof materials here, because the mailbox gets the full force of rain and road spray. Remove the garland promptly after the holidays so it does not fade and fray through January.
9. Oversized Ornaments for the Yard

Oversized ornaments make a yard look like a Christmas display from a single glance, and they are easier to make than they look. Start with large plastic balls, old light globes, or even beach balls, aiming for 12 to 20 inches in diameter so they read as oversized from the sidewalk. Paint them with exterior spray paint in your chosen palette, classic red, gold, and green, or matte white, blush, and champagne for a modern look, and add a glitter topcoat while the paint is still tacky if you want sparkle.
Make the ornament cap from a small plastic cup or a short length of PVC pipe painted gold or silver, and thread a loop of thick wire through it for hanging. Cluster three to five ornaments at the base of a tree or beside the porch steps, varying the sizes by at least 4 inches so the group looks collected rather than matched. For hanging ornaments, suspend them from sturdy branches with wire, not string, and hang them at different heights, 5 to 7 feet off the ground, so they sway without hitting each other.
Use only shatterproof materials for yard ornaments, since glass will not survive a fall onto concrete or a hard frost. Bring the ornaments in during a forecasted ice storm or very high winds, and store them in individual bags so the paint does not chip against other decorations. A group of oversized ornaments beside a lit tree is one of the simplest ways to make a front yard photograph beautifully at night.
10. Pallet Christmas Tree Display

A pallet Christmas tree is a perfect rustic project for a porch, fence, or garden wall, and it costs almost nothing if you can find a free pallet. Choose a standard pallet about 40 by 48 inches, remove any broken slats, and sand the rough edges with 80 grit paper. Paint the front face green, or leave the wood natural and outline a tree shape with lights, depending on whether you want a solid look or a more open, farmhouse style.
To build the tree shape, keep the pallet upright and attach lights in a zigzag from the top center down to the bottom corners, which reads as a tree silhouette once the lights are on. Add small ornaments wired to the slats, a star at the top, and a short trunk section at the base painted brown. If you paint a solid tree, stencil the shape first in pencil, fill it with two coats of exterior green paint, and let it dry overnight before adding lights.
Lean the finished pallet against a wall or fence at a slight angle, and anchor the top to the wall with a screw or a heavy duty hook so wind cannot topple it. Add a few wrapped boxes or a small lantern at the base to finish the display. Personalize it with a family name or a short message stenciled across the bottom slat, which makes the piece feel handmade rather than mass produced.
11. DIY Reindeer Yard Figures

Reindeer figures built from logs and branches have a natural, woodland charm that suits gardens and rustic yards better than plastic figures do. For one reindeer, you need a log about 18 inches long and 6 to 8 inches in diameter for the body, four straight sticks about 14 inches long for legs, a smaller log for the head, and two branching twigs for antlers. Drill pilot holes and join the pieces with wood screws and exterior wood glue so the figure survives a season outdoors.
Attach the head at a slight upward angle, fix the antlers with screws from behind, and paint a small round nose red for a Rudolph figure or leave it natural for a classic reindeer. Add eyes with two small dark wood slices or painted dots, and keep the face simple, since too much detail on a rustic figure looks fussy. Seal the whole figure with clear exterior sealant, paying attention to the end grain of the logs, which absorbs water fastest.
Group two or three reindeer together at different heights, a tall one about 30 inches at the shoulder, a medium one, and a small one, arranged as if grazing near the porch or garden path. Set them on flat ground and stake the back legs lightly if your yard slopes, so they do not creep downhill in rain. Bring the figures under cover during heavy snow so the joints stay tight for next year.
12. Outdoor Nativity Scene

A nativity scene is a meaningful centerpiece for a front yard, and a plywood cutout version is far sturdier than a store bought plastic set. Draw simple silhouettes, Mary, Joseph, the manger, and one or two animals, on 1/2 inch exterior plywood, keeping each figure 24 to 36 inches tall so the scene reads from the sidewalk. Cut the shapes with a jigsaw, sand the edges smooth, and paint them with exterior acrylics in muted, traditional colors.
Mount each figure on a small wooden base or a stake driven 6 inches into the ground, and angle the figures slightly toward the street so they face visitors. Light the scene with a single warm white spotlight on a ground stake placed 4 to 6 feet in front of the display, aimed upward at a low angle, which creates a gentle glow without harsh shadows. A second small light inside the stable roof, if you build one, adds a warm focal point.
Place the nativity where it will not be blocked by other decorations, ideally on a flat patch of lawn near the porch or under a tree, and keep the surrounding area simple so the scene stays the focus. Cover the figures with a tarp during a heavy rainstorm if they are unsealed, and store them upright in a dry shed after the season so the plywood does not warp.
13. Hanging Outdoor Stars

Hanging stars bring a soft, celestial glow to a porch or yard, and they suit both traditional and modern homes. Cut stars 12 to 24 inches across from 1/4 inch plywood for a durable version, or from heavy cardstock laminated with clear packing tape for a quick, lightweight version. Paint them gold, silver, or matte white, and add a coat of fine glitter while the paint is wet if you want them to catch the light.
Drill a small hole at the top point of each star and thread through fishing line or thin wire, then hang the stars from tree branches, a porch ceiling, or a pergola beam at staggered heights, 6 to 8 feet off the ground, so they sway gently without tangling. Weave a short strand of warm white fairy lights around the larger stars, or hang a single light behind each star so the shape glows as a silhouette at night.
Space the stars 2 to 3 feet apart so each one reads clearly, and limit the display to five to seven stars per area to avoid a cluttered look. Bring cardstock stars in during rain, and check wire hangers after windy nights. A row of gold stars above a porch swing or entry path looks especially lovely paired with simple white string lights, as in our Christmas tree light ideas for the yard trees nearby.
14. DIY Christmas Porch Planters

Porch planters are an easy win because you already have the containers, and a festive fill takes about 30 minutes per planter. Start with a planter at least 14 inches wide so the arrangement looks full rather than sparse. Fill the bottom with a block of floral foam or packed soil, then push in tall evergreen branches at the back, 24 to 30 inches tall, and shorter cedar and pine sprigs around the front.
Add height and color with curly willow twigs or red dogwood stems, which rise 6 to 8 inches above the greenery, plus clusters of faux red berries and three to five pinecones wired to short picks. Wrap the planter itself in burlap and tie it with a wired ribbon bow, or paint a plain terracotta pot in a deep red or forest green for a more finished look. If your porch gets no rain cover, use faux greenery for at least half the fill so the arrangement does not wilt by mid December.
Place one planter on each side of the front door for symmetry, and add a small lantern or a stack of two wrapped boxes beside one planter to complete the entry. Water fresh greenery once a week if it is real, and mist the branches lightly so the needles do not dry out and drop. After the holidays, pull out the berries and bows and keep the evergreen base through January as a simple winter planter.
15. DIY Gift Box Lights

Glowing gift boxes are one of the most photographed outdoor decorations, because they look expensive and are surprisingly simple to build. For each box, make a cube frame from 1/2 inch PVC pipe or thin wood strips, in sizes of 12, 16, and 20 inches so a group of three looks graduated. Wrap the frame with a loose weave of ribbon or mesh fabric in your theme color, red, gold, or silver, leaving small gaps so the light inside shines through.
Place a 50 light LED strand inside each box, coiling it loosely rather than packing it tight, which gives an even glow instead of hot spots. Tie a large bow on top from wired ribbon at least 2 inches wide, with loops about 6 inches across, and secure the bow with floral wire so it holds its shape in wind. Use outdoor rated lights and keep the battery or plug connection in a covered box at the base of the group.
Stack the boxes in a group of three beside the porch steps or under a tree, with the largest at the bottom and the smallest on top, or arrange them in a row along the porch edge. Match the ribbon color to your other porch decorations, wreaths, garland, and planters, so the whole entry reads as one planned display. Store the frames flat or nested after the season, and keep the bows in a box so they do not crush.
16. DIY Outdoor Christmas Archway

An archway over a garden path or porch entry creates a dramatic welcome that guests remember, and it photographs beautifully at night. Build the frame from 1 inch PVC pipe bent into an arch, or from two wooden posts with a curved top beam, aiming for a finished height of 7 to 8 feet and a width of 4 to 5 feet so two people can walk through comfortably. Anchor the posts at least 12 inches into the ground or into heavy planters filled with sand so the arch cannot tip.
Wrap the frame with two or three strands of faux garland, securing it with zip ties every 12 inches, then weave in warm white string lights, about 200 lights for a full arch, and add wired ribbon bows at the top corners. Hang a few shatterproof ornaments or a small bunch of mistletoe from the top center, keeping everything at least 6 feet 6 inches above the path so tall guests do not brush against it.
Test the arch at night before you finish, and add a second light strand if any section looks dark from the street. If your arch is over a path that gets icy, keep the ground beneath it clear and salted, since guests will stop to take photos there. Take the garland and lights off the frame after the season and store the frame in a garage so it stays straight for next year.
17. DIY Light-Up Snowman

A light-up snowman is a cheerful focal point for any front yard, and a wire frame version glows far better than a solid decoration. Build the body from two wire spheres, one about 24 inches across for the base and one about 18 inches for the head, or stack three white laundry baskets in graduated sizes for a quick alternative. Wrap each section with a 100 light warm white strand, spacing the lights evenly so the whole snowman glows rather than showing bright patches.
Add a black top hat made from a small bucket or a foam cylinder, a scarf cut from a length of red or plaid fabric about 36 inches long, and button eyes and a carrot nose made from painted foam or wood, attached with wire. Secure the sections together with zip ties and anchor the base to the ground with two landscape stakes so wind cannot roll the snowman across the yard. Keep all electrical connections in a covered box at the back of the display.
Place the snowman where it is visible from the street but not blocking the walkway, ideally on a flat patch of lawn near the porch. Check the lights after the first frost, since cold can loosen a loosely wrapped strand, and replace any dark section promptly. A snowman beside a lit tree and a candy cane path makes a complete, kid friendly front yard scene in just three projects.
18. DIY Outdoor Christmas Chandelier

For a truly eye catching statement piece, hang a Christmas chandelier above a porch seating area or entryway. Start with a large metal hoop, 24 to 30 inches across, or two hoops in graduated sizes for a tiered look. Wrap the hoop with faux greenery and a 100 light warm white strand, then hang gold ornaments, crystal style icicles, and small pinecones from the hoop with fishing line at staggered lengths, 6 to 12 inches below the hoop.
Suspend the chandelier from a porch ceiling hook rated for at least 20 pounds, using three chains or wires spaced evenly around the hoop so it hangs level. Keep the bottom of the chandelier at least 7 feet above the floor or ground so nobody walks into it, and use a plug in timer so it lights at dusk. If your porch is open to rain, choose a covered spot or bring the chandelier in during storms, since ornaments and greenery will not survive repeated soaking.
Step back and check the chandelier from the street as well as from the porch, since it should look good from both angles. Pair it with simple white lights on the porch railings rather than competing colors, so the chandelier stays the star of the display. After the season, remove the hanging pieces, wrap the hoop in a sheet, and store it flat so it keeps its shape.
Final Thoughts
Outdoor Christmas decorating works best when you start with a plan and build it up year by year. Pick two or three projects from this list for this season, a lighting project, a porch project, and one statement piece, and do those well rather than rushing through all 18 at once. Measure your spaces, use outdoor rated materials, and check each display at night from the street, since that is the view most people will actually see.
Keep your palette consistent across the whole yard, two main colors plus one metallic, and repeat the same lights, ribbons, and greenery on every project so the display feels designed rather than collected at random. Label your storage boxes by project when you pack up in January, and note what worked and what needs replacing, so next December starts with a list instead of a guessing game. Most of all, enjoy the process: a handmade yard display is part of the holiday itself, not just a backdrop for it.
Frequently Asked Questions
How early should I put up outdoor Christmas decorations?
Most people start outdoor decorating in late November, about three to four weeks before Christmas, which leaves time to fix lights and displays before the holidays. If you enjoy a longer season, early November is fine too, but avoid putting delicate items like paper snowflakes or unsealed wood out before the worst autumn rain has passed. Plan to take everything down in early January so materials do not weather through winter.
What kind of lights are safest for outdoor Christmas displays?
Use only lights labeled for outdoor use, and choose LED strands, which stay cool, use less power, and last longer than incandescent bulbs. Keep plugs and connections off the ground in weatherproof covers, never connect more strands end to end than the manufacturer allows, and use a ground fault protected outdoor outlet. A timer or smart plug that turns lights off late at night also protects the lights and saves energy.
How do I keep DIY outdoor decorations from blowing away?
Anchor everything: stake yard figures and light canes into the ground, wire garland and wreaths to railings instead of relying on hooks, and weigh down planters and archways with sand or soil. Use zip ties and floral wire rather than tape or glue, which fail in cold and wet weather. After the first windy night, walk the whole display and tighten anything that has slipped before it becomes a bigger repair.
Can I leave outdoor Christmas decorations out in rain and snow?
Most outdoor rated lights, faux greenery, and sealed wood decorations handle rain and light snow well, but paper, cardstock, and unsealed wood do not. Bring lightweight items in during heavy storms, brush snow off garlands and chandeliers so the weight does not pull them down, and check electrical connections after wet weather. Proper sealing and covered plugs are what make the difference between a display that lasts the season and one that fails in the first storm.
How much do DIY outdoor Christmas decorations cost?
Most projects in this guide cost between 10 and 50 dollars in materials if you already own basic tools, with lights and garland being the biggest expenses. Reusing lights, ornaments, and frames from previous years brings the cost down sharply, and pallet, log, and PVC projects are among the cheapest. Start with two or three projects, keep receipts for the first season, and you will know exactly which displays are worth repeating next year.
More Ideas You Will Love
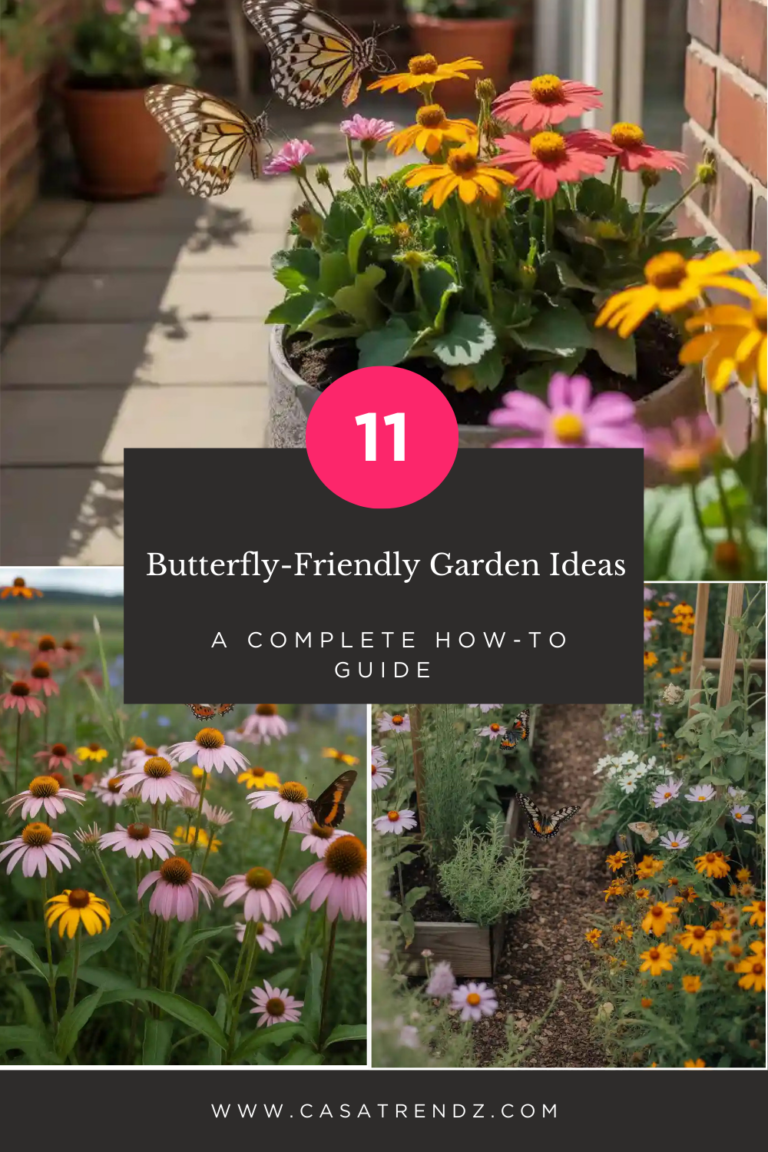 11 Butterfly-Friendly Garden Ideas: A Complete How-To Guide
 14 Summer Patio Makeover Ideas – Fresh Styling Tips You’ll Love Introduction
 12 Pet-Friendly Home Design Ideas for Beating the Summer Heat
 17 Gray Floor Ideas for Modern, Cozy & Stylish Interiors
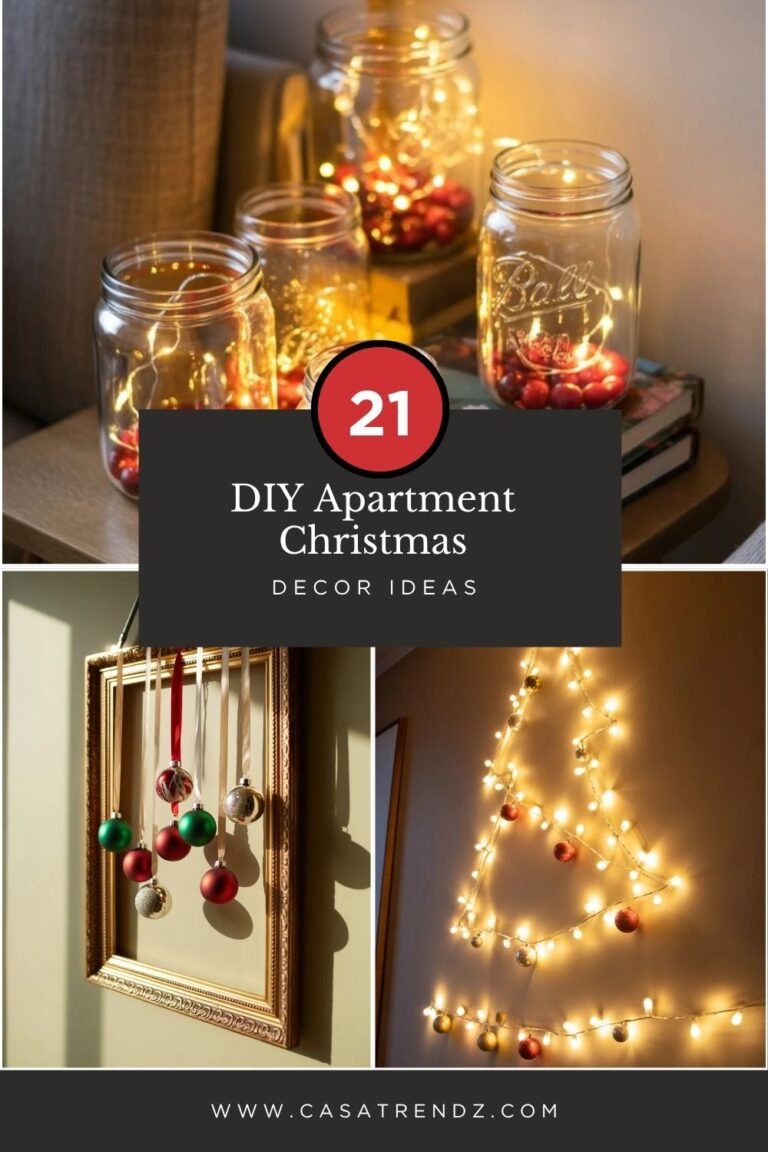 21 DIY Apartment Christmas Decor Ideas for 2025
 15 Easy Maintenance Tips for Backyard Pools: Cleaning & Care Guide